NOTE: THE FOLLOWING REVIEW IS COPYRIGHT 2016 BY RVHOME.SCHOOL
ALL RIGHTS ARE RESERVED.
Any time you are driving or backing up a trailer, having as much of a picture of the area as possible gives you an edge. There is nothing wrong with stopping, setting your emergency brake, and getting out and taking a look at the situation. Having another person with you, preferably with a two-way radio, can really help too. Another more modern invention is the backup camera. Since the backup camera on your tow vehicle will be blocked by what you are towing, I strongly recommend finding a good one that can be connected up to the back of your trailer.
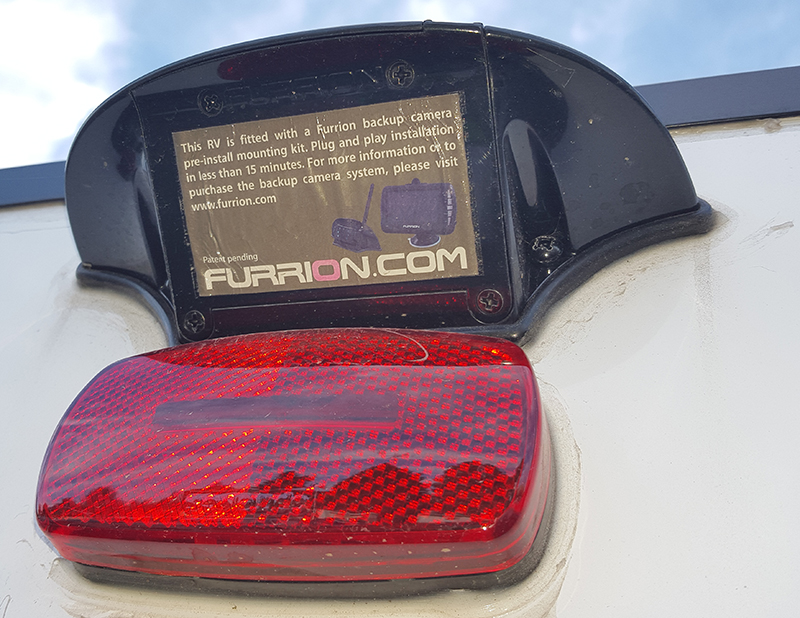
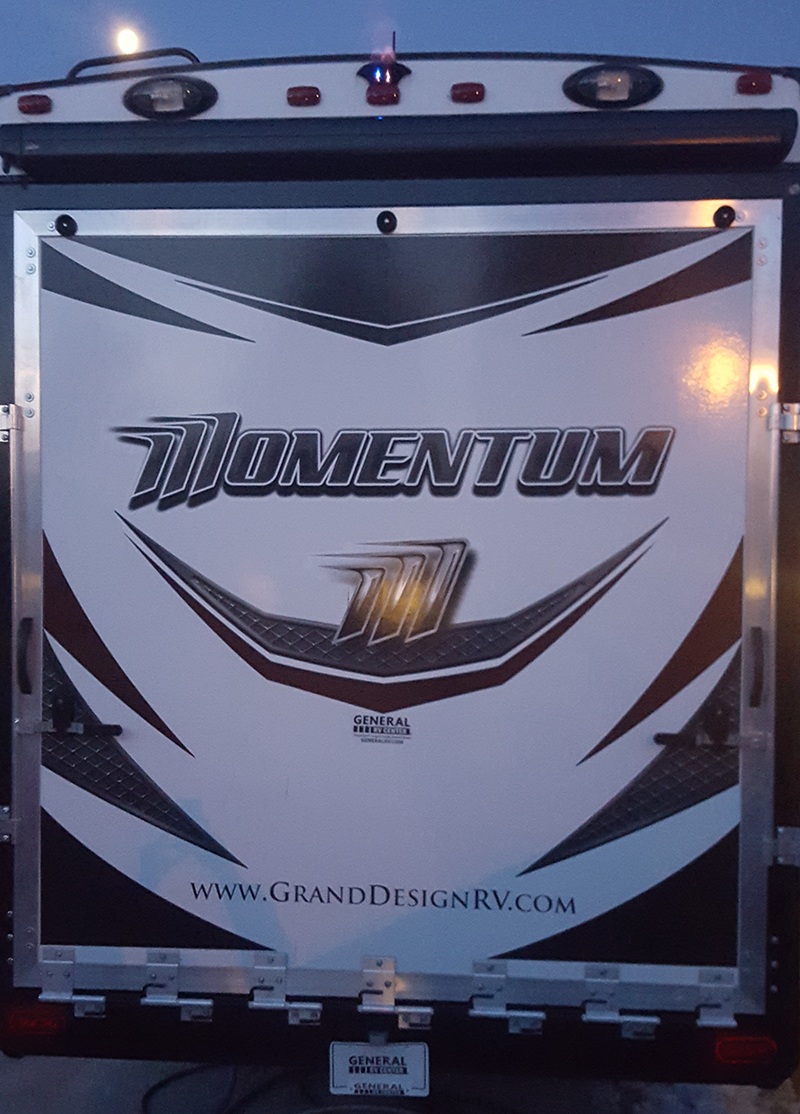
The 2016 Grand Design Momentum 385TH (www.GrandDesignRV.com), and many other RV’s, come with a prep kit from Furrion (www.furrion.com) pre-installed on the back, for connecting either a Back-Up Camera or an Observation Camera. The difference in these is that the camera and monitor for an observation camera are more suited to long-term operation, while a back-up camera and monitor are intended to run for only short periods, while backing up. I prefer the advantages of a camera that can be operated for long durations. It gives you usable images when driving to provide a better view of traffic around you, and when stationary to provide an element of security. This is especially important on toy haulers, where you usually have no visibility behind the rear ramp door. Being able to see back there can provide some extra peace of mind.
We contacted Furrion and obtained a sample of their Furrion Observation camera to test. Here’s what we found.
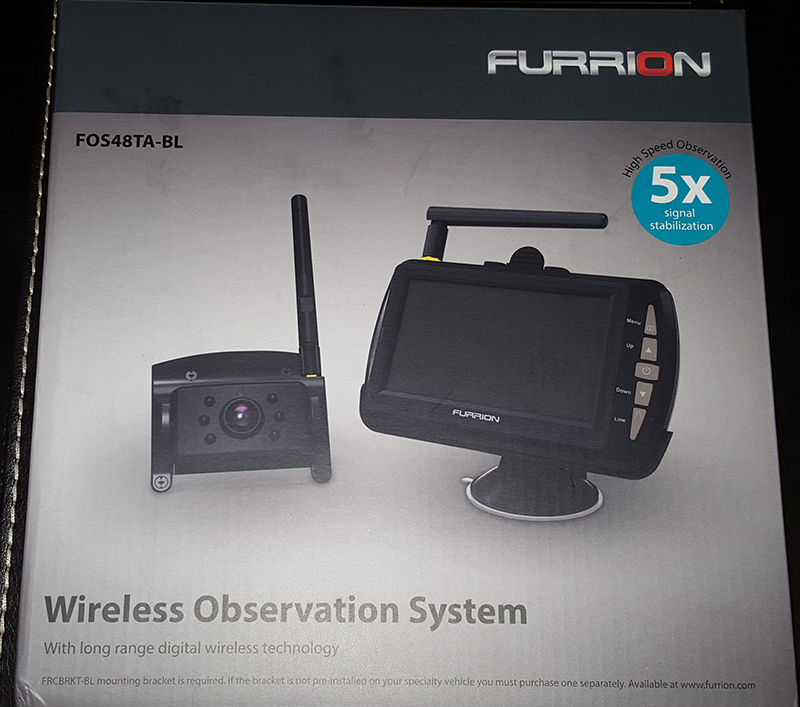
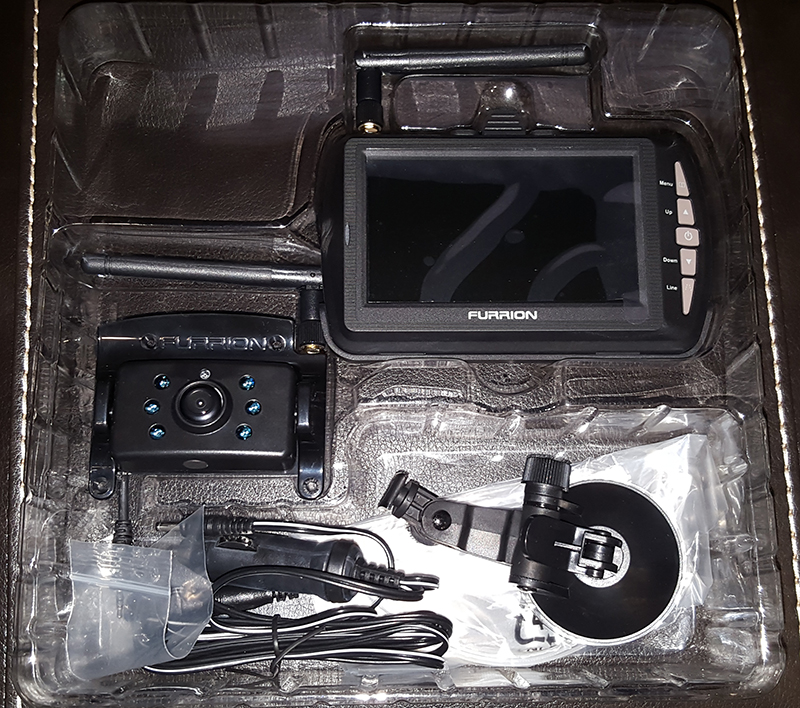
The camera kit comes in a relatively thin box. Since the camera bracket is already installed on the trailer- the kit includes the camera, an extra set of screws to attach it to the mount, the wireless monitor, a power cord (with 12VDC lighter plug) for the monitor, and a suction-cup mount to hold the monitor onto your windshield.
Note to radio operators - the system runs in the 2.4GHz spectrum. The antennas are screw-in mounts with vertical adjustment.
The installation of the camera from a physical perspective is quite simple. There are 4 Phillips-head screws holding a cover onto the Furrion camera bracket. Remove them and you find a power cable and space in the box to fold the connected power cable into position. Discard the cover, but hold onto the screws.
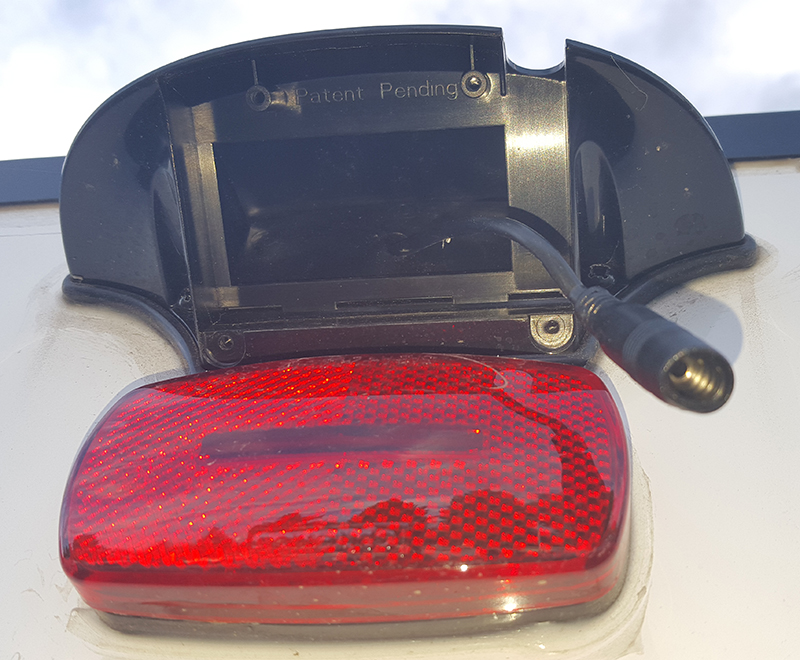
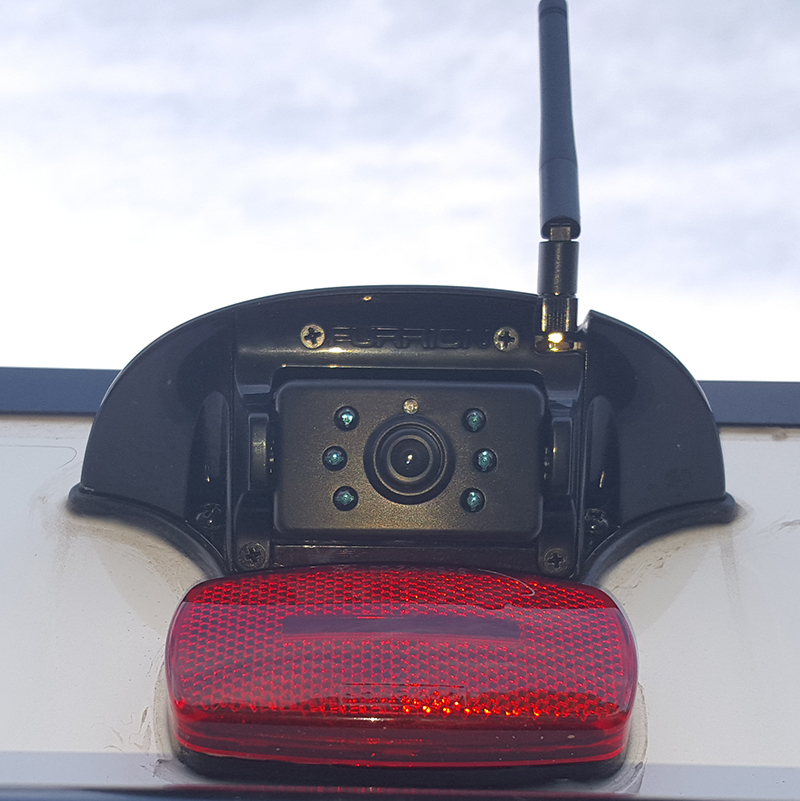
Note The Cutout In The Housing At The Upper-Right. That Is To Allow The Antenna To Go Vertical.
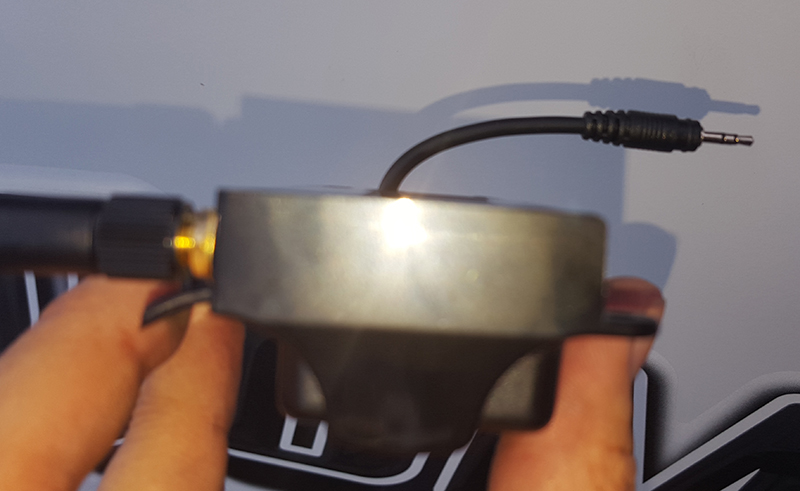
Bring the camera up, and connect the power cord on the camera to the one in the mounting box. Then use the 4 screws you removed from the cover to secure the camera. They also include 4 extra screws in the box with the camera. This is a good thing as they are quite small, and were the hardest part of the whole installation. They blow away very easily in the slightest wind. I lost two of the originals. Once the power is connected and the camera is secured, you are mostly done at that end.
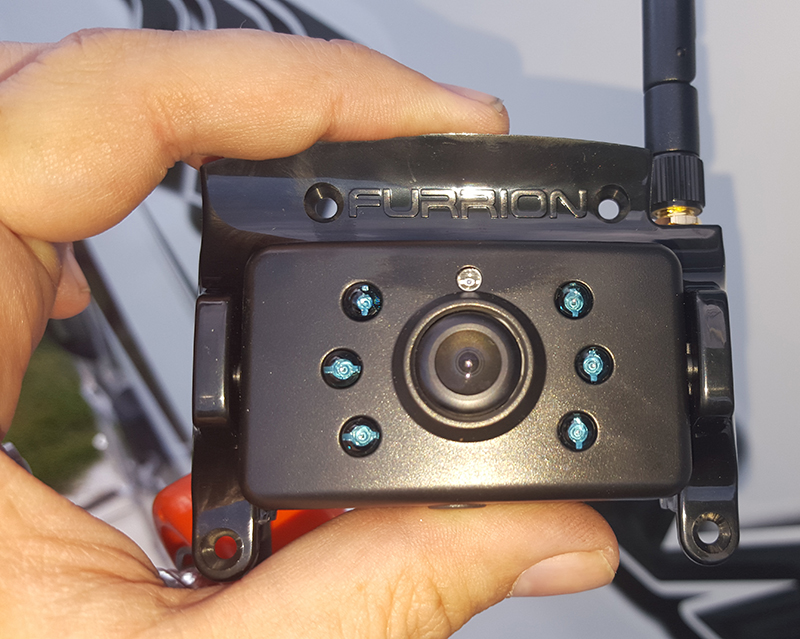
There Are Six IR LED's Around The Camera. The One At The Top Is Blue When The Camera Has Power.
This Is The Power Connector Coming From The Back Of The Camera
The camera only has a power connection, while video is sent via the 2.4GHz radio connection to the monitor. The camera draws about 300mA maximum and operates over a wider voltage range of 8VDC to 30VDC.
This power connection is the one area where I’d strongly recommend that Furrion re-engineer their setup. They use a stereo-headset-type connection for the power. I learned a long time ago that you never use those for power due to the chance of a short circuit while plugging them in. They make the assumption that it won’t be powered when you make the connection, but it turns out that Grand Design (on this series of trailers) wires this up so that it is constantly powered.
The manual for the observation camera indicates that Grand Design has the power hooked up to the backup light connection on the tow vehicle. I hooked up to the truck thinking that they might have rigged it up to the towing connections. Nothing. Then I remembered hearing someone mention a bus bar connection on the back wall of the generator compartment, to the left of the generator, and that power for this circuit comes from this location. I took a look, and sure enough, the 10A fuse was blown. When I replaced it, the camera had power.
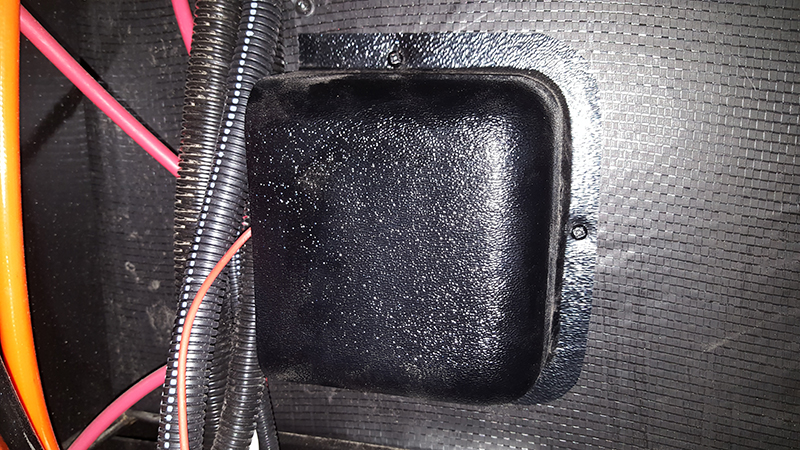
Remove This Cover To Find The 10A Fuse That Grand Design Installed On This Circuit.
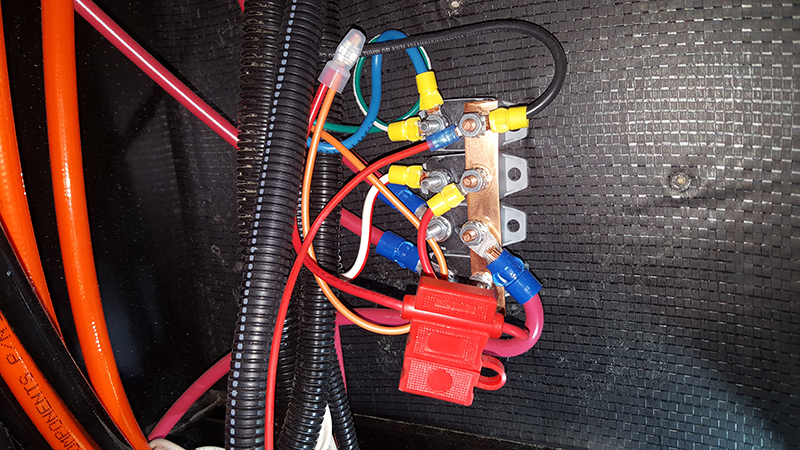
The Red Fuse Holder Houses The 10A Fuse. It Is Connected To The Orange Wire To The Camera Via The Crimp Connection.
I'll be adding an in-line switch to that circuit so that I can cut off the power and clear the radio spectrum if necessary. It would be nice if Furrion would switch to a more appropriate power connector that won't short out if power is applied during the installation.
I also noted that a blue LED appeared on the camera once it had power. It’s not mentioned in the product manual, but it’s on the camera, and it’s always on when the camera has power. I don't mind it.
The Blue LED Is Visible Whenever The Camera Has Power. The IR LED's Are Also Visible In This Photo Taken With A Digital Camera.
Once that’s done, you can hook the 4.3" display monitor up to a cigarette lighter outlet and turn it on. It's rated to draw about 200mA when on, and 1mA when turned off.
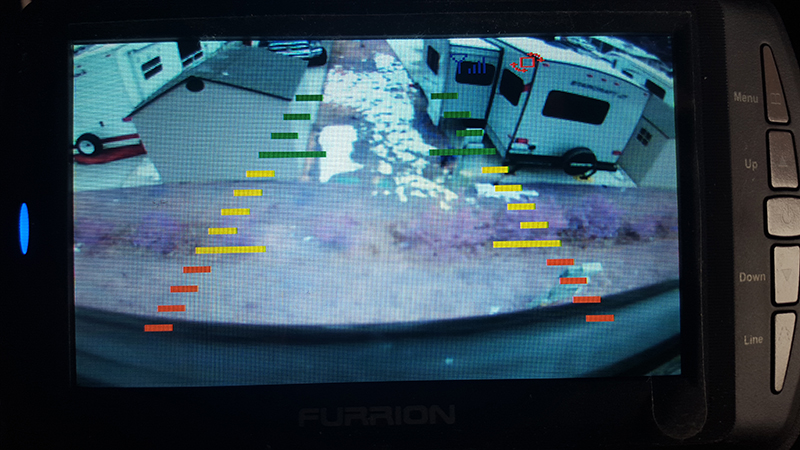
Note The Strip Of Grass And Shrubs Directly Behind The Trailer. They Appear Purple. I'll Explain That In A Moment.
The manual says that the first time you use it you need to pair the camera and the receiver. However, ours came up automatically. The pairing procedure is much like pairing a phone and Bluetooth car kit or headset. Start the pairing procedure on the receiver by hitting menu, using the arrows to highlight the PAIR icon, and hit the power/enter button. Then you hit the pairing button on the bottom of the camera for two seconds.
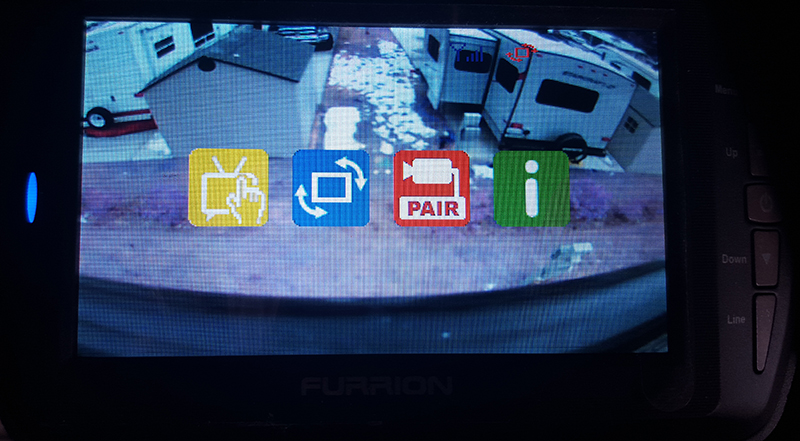
The image initially comes up reversed, which is customary for backup cameras. That’s generally better for when you are driving and using it to see if lanes are clear, or when backing up. There is a menu option on the monitor to un-reverse the image, which is great when using it as a security camera while parked.
There are also options to adjust the brightness, contrast, and color on the display under the "TV" icon.
The camera has three positions of vertical adjustment. The lowest shows you less distance behind the trailer, the highest shows the most. On our Momentum 385TH, the awning box for the rear deck awning obscures the actual rear wall of the trailer itself, so I opted for the middle position. This gives me a clear view of everything from 3.5' behind the trailer out to several car lengths back. When the awning box just starts to cover an object at ground level, that object is 3.5' behind the trailer. This is perfect for backing up. The side-to-side distance covers over 7 feet to either side of the trailer as well.
The monitor can also be set to display a set of distance lines. The distance covered on these will vary depending on which vertical adjustment you used when installing the camera, and how high above the ground the camera is. The easiest way to tell is to use a tape measure from the back of the trailer, while holding the monitor with a portable power source. Then you will know what the lines mean in your specific installation.
On one of the forums I frequent, a couple of people with this camera reported what they called a problem with things looking purple on the monitor. You WILL find that organic greens (grass, tree leaves, etc.) will indeed appear purple rather than green on the monitor, but this is not a defect. Having worked with industrial surveillance cameras before, I have seen this. It’s very common with cameras that are optimized for the Infrared-end of the spectrum.
CCD cameras are inherently, generally very sensitive to IR light. Most cameras are made to filter this out, as too much IR will change organic greens toward the red end of the spectrum. Cameras that are optimized for low-light operation (or no light operation) don’t, as it would reduce their performance. The camera with the Furrion Observation System is VERY good in low-light, and is optimized for it.
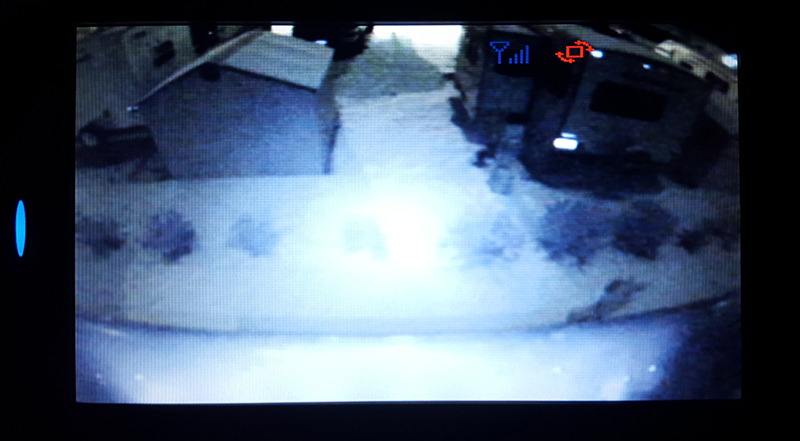
On either side of the lens there are three IR LED’s. This IR Illumination allows you to back and see clearly in no-light situations. As you can see from this shot, the area behind our trailer is lit up like daytime, and there was NO ambient light directly behind the trailer. That's very welcome when backing into a space at night, or when you hear an odd noise in back of the trailer in the early morning.
In terms of reliability, it’s been great for us so far. It works on the road, providing a real-time view of what’s behind and to the immediate sides of the trailer. It works when parked, giving us a security view of anyone messing around behind the trailer. I’ve run it 24x7 for several months, and it hasn’t failed yet. It works in the cab of our CC/LB when connected to the trailer just fine too.
In terms of product improvement recommendations: I’d love to see Furrion add an SD card slot to the receiver and the ability to record real-time onto that card. It could be valuable as reverse-dashcam footage in some situations, or as a recording security camera. I'd also love to see them switch to a better power connection that's designed to prevent shorts, perhaps an Anderson Power Pole (http://www.powerwerx.com/anderson-powerpoles/) or something along those lines.
Overall, we've been very pleased with it. It gives us extra help backing up or to see what traffic is like behind us, and it adds an element of security visibility when we are parked. The excellent low-light performance makes it ideal for any backing situation, and ideal for security. If your trailer is equipped for it, there's no reason not to get one. If your trailer isn't already setup for one, they sell a complete kit with the camera, monitor, and mount as well.
James Bell Jr - Editor - RamGunner.com/RVGunner.com/MomentumGunner.com
Click Here For The Product Installation Manual For The FOS48TA-BL
Click Here To Read This In RV Open Road Spring 2016